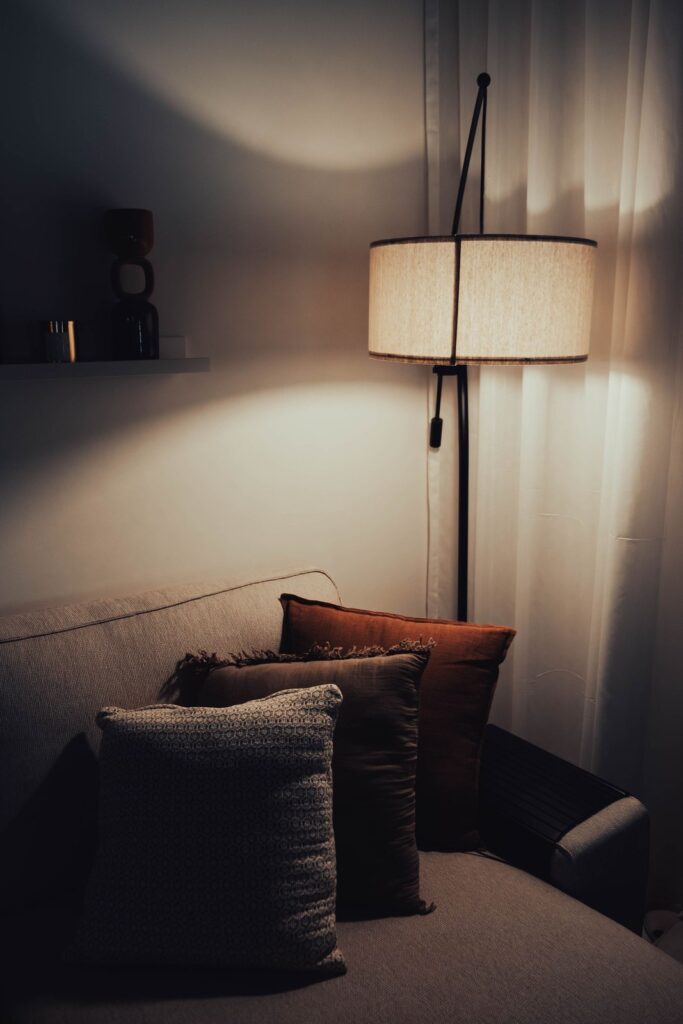
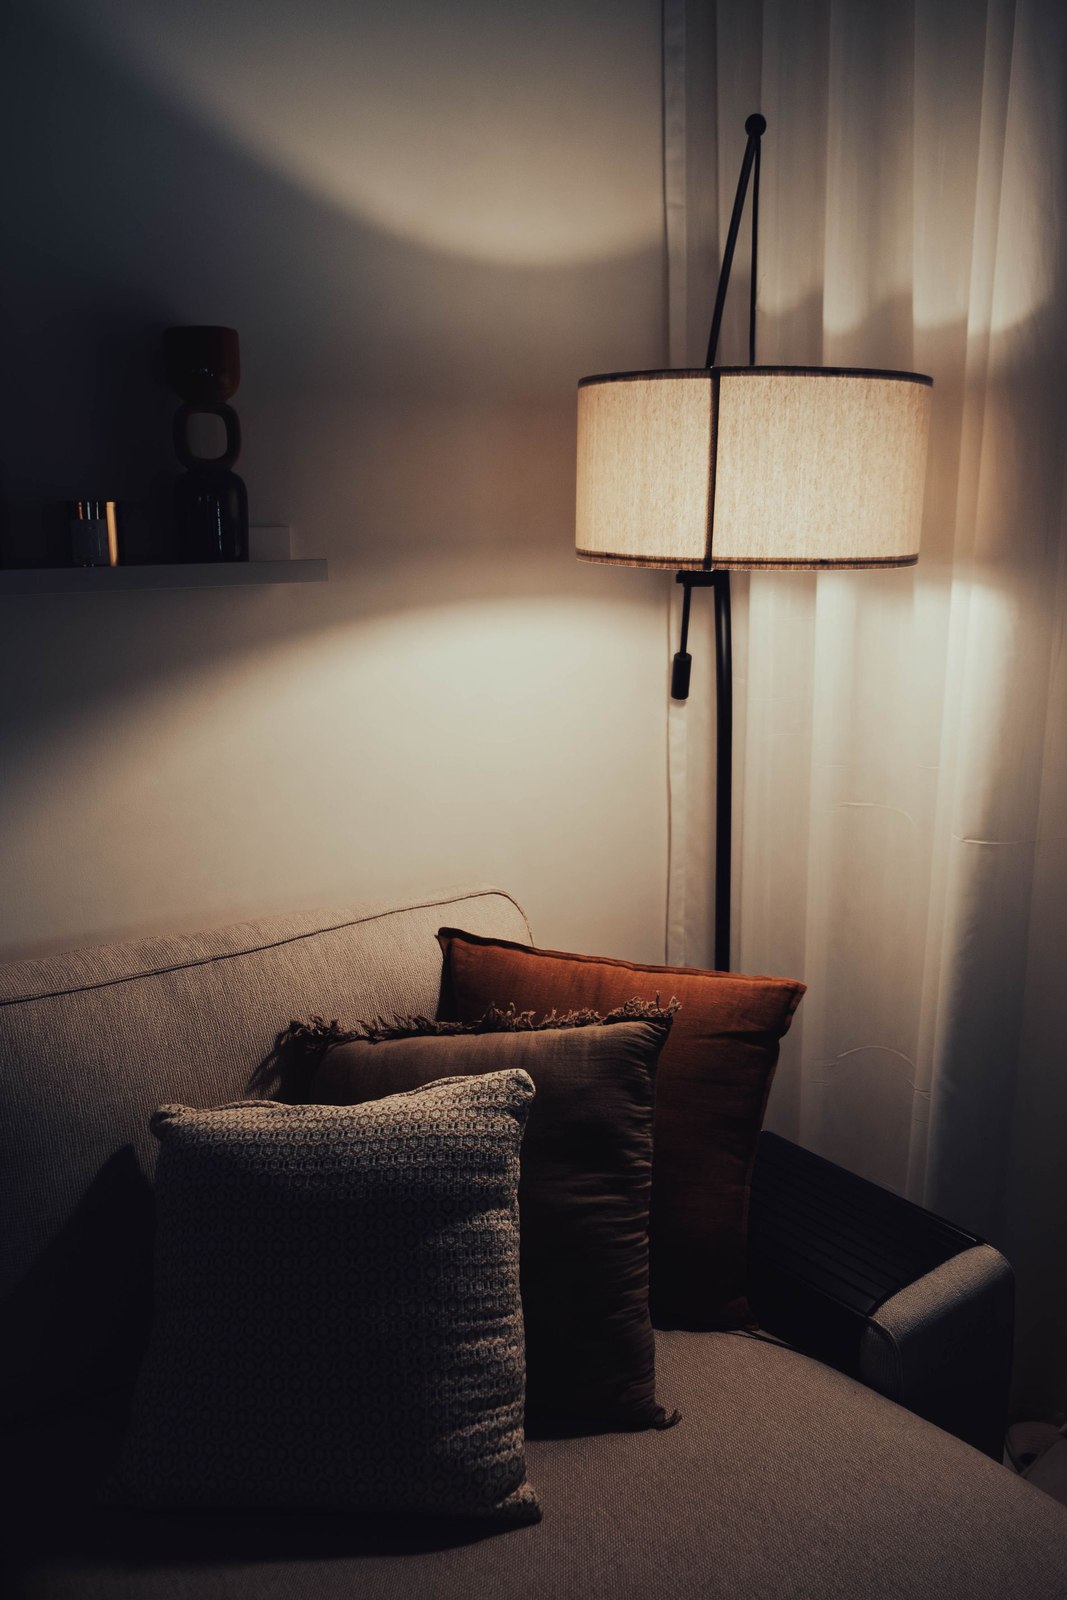

In the afternoon, the wall was the soft beige you chose. At night, with the lamp on, it looks yellowish and the sofa has lost its colour. Before you call the painter, look at what the lighting packaging says. The paint and the light both shape what you see.
The same issue comes up in many homes in Cyprus, where an open-plan room may be lit at the same time by spotlights, pendants and a floor lamp. If the light sources were chosen at different times and have different specifications, a paint sample in the shop can tell you very little about how the room will feel.
Three numbers answer different questions
Colour temperature, measured in kelvins, describes the appearance of white light. A lower value usually looks warmer and more yellow. Lumens describe luminous flux, or how much light the source emits. Watts measure electrical power. Switching to a higher wattage on its own won’t fix a colour you dislike.
Why two bulbs with the same colour temperature can look different
The same colour temperature doesn’t guarantee that fabrics, wood and painted surfaces will look identical. Look for the colour rendering index, usually shown as CRI or Ra, in the bulb’s specifications. It’s useful for comparison, but it doesn’t capture everything you see or tell you which result you’ll prefer.
In its 2025 position statement, the International Commission on Illumination (CIE) says that assessing colour quality takes more than one metric. It recommends gradually adopting the newer colour fidelity index, Rf, while reporting the measures alongside each other during the transition. For consumers, the practical step is to ask for specifications and test the light in the room. No single figure settles the choice.
Compare after dark, from the same spot
Pick two compatible bulbs and a lamp you actually use. Keep its position, shade and direction the same. Aim for similar lumen ratings and light distribution, so the effect doesn’t change simply because one bulb is brighter or sends the beam elsewhere. Note any differences you can’t match.
Do the test after dark with the other lights off at first. To change the bulb, switch off and safely isolate the fixture and let the bulb cool, following the manufacturer’s instructions. If the light is hardwired or has an integrated LED, ask an electrician. The comparison doesn’t require exposing wiring or touching electrical components.
Look at the same wall, the same fabric and a piece of wood from the same spot. Give your eyes time to adjust and write down what bothers you: light that feels too warm, materials that look flat, strong contrast or reflections. Then turn the other lights on. The choice needs to work in the evening lighting you usually live with.
| Record | What to note |
|---|---|
| Bulbs A and B | Model, colour temperature in kelvins, lumens, colour rendering index and dimmer compatibility. |
| Conditions to keep the same | Fixture, position, direction, materials and time without daylight. |
| Observation | How the wall, sofa and wood look with each bulb alone and then with all the lighting on. |
| Limitations | Differences in beam, light output or settings that affect the comparison. |
Your phone camera can mislead you
Automatic white balance and exposure on a phone can correct some of the colour effect. Two photos aren’t a laboratory measurement and won’t reveal a bulb’s actual CRI. Keep them as personal notes, using the same settings where possible, and give more weight to what you see in the room.
Before repainting the whole wall
If changing the bulb makes a real difference, you have a specific reason to rethink the lighting before repainting. If none of the options looks right to you, talk to a professional about the paint colour and finish. The aim is to see together the things you live with every evening: the wall, the floor, the fabric and the light that falls on them.
Philips · Lighting quality and colours · Philips Hue · Light output and lumens · CIE · Position on colour rendering indices, 2025